Create Your Wedding Seating Plan: Your Go-To Guide
Creating a wedding seating plan can be one of the more challenging parts of wedding planning. With a guest list full of family, friends, colleagues, and acquaintances, it’s easy to feel overwhelmed by the task. But don’t worry, we’ve got you covered with our go-to guide for creating the perfect wedding seating plan at Waipuna Estate.
From the best table shapes to strategic seating, we’ll help you navigate the process with ease. Let’s break it down step by step.
Why You Need a Seating Plan
You might be tempted to skip the seating plan altogether, but trust us, it makes a big difference. Here are just a few reasons why you should take the time to create one:
Organisation: A seating plan ensures that your guests are seated comfortably and are in good company, preventing any confusion or awkwardness on the day.
Caterer’s Peace of Mind: Your caterer will appreciate knowing where guests are seated, especially if there are dietary restrictions or pre-selected meals.
Family Dynamics: A seating plan allows you to manage family dynamics, ensuring that people who might not get along aren’t sitting together.
Smooth Flow: Without a plan, guests may end up scattered, leading to disorganisation, which could affect the flow of the reception.
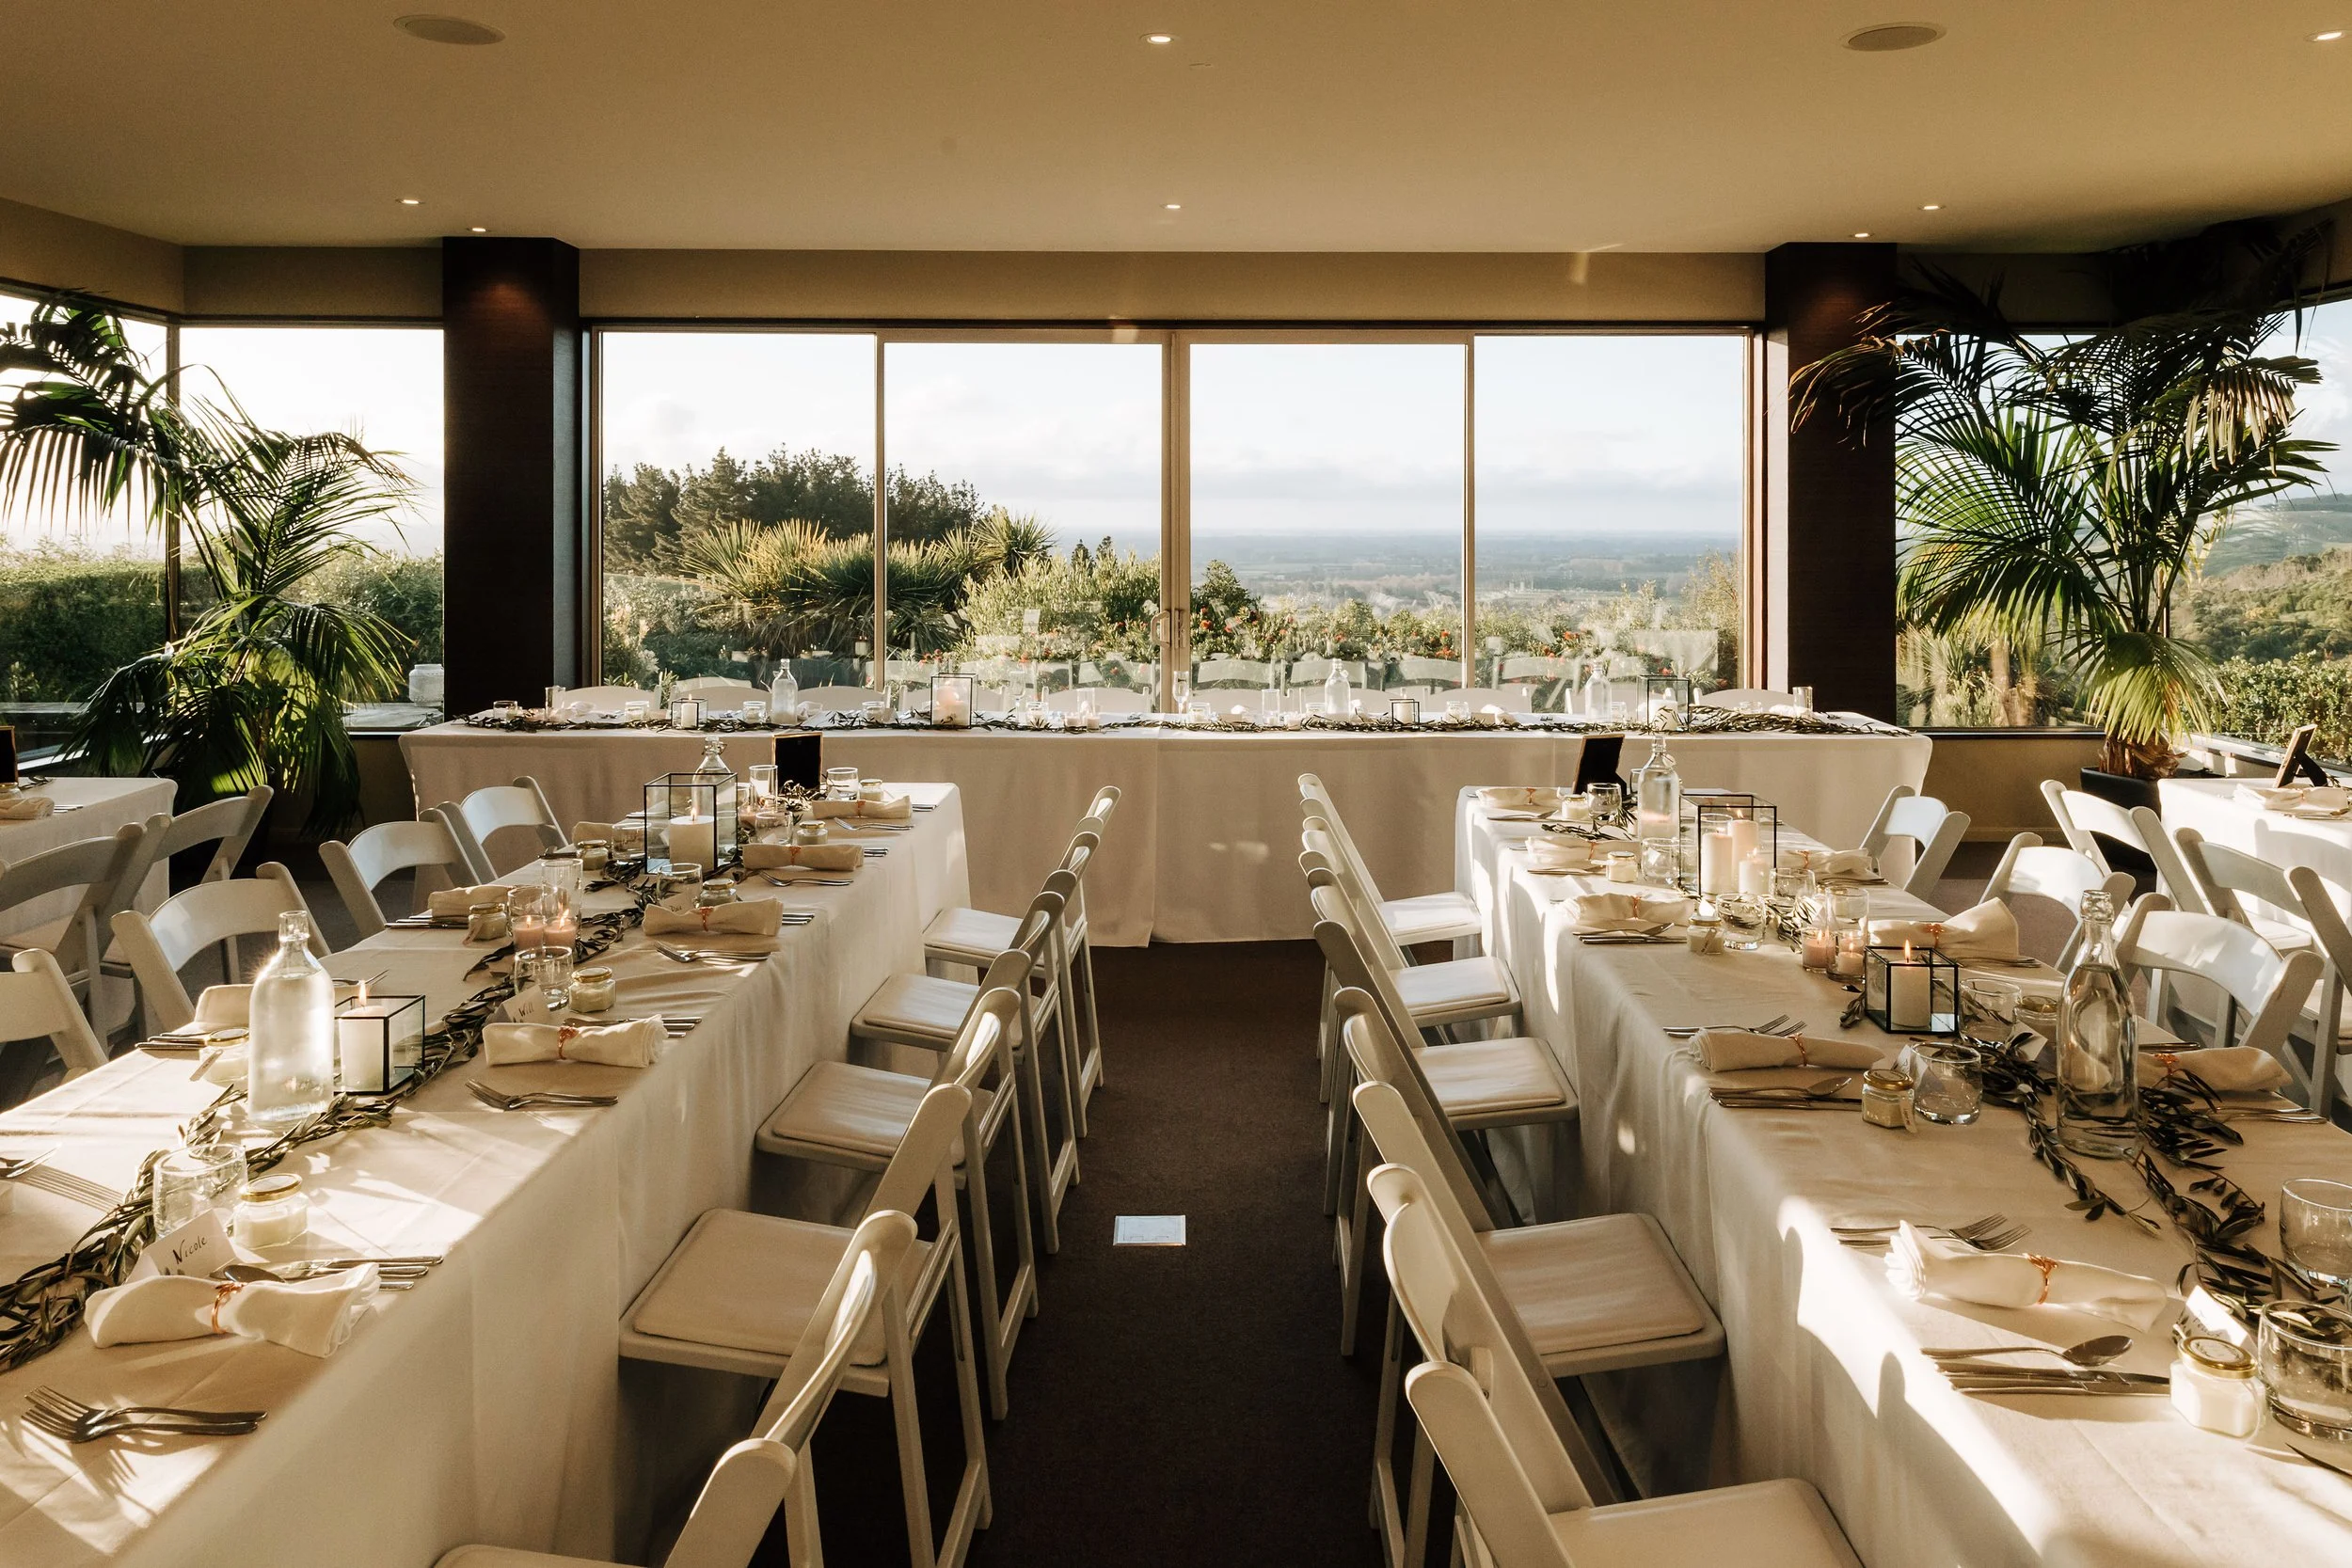
Photo Credit: Stacey Cavalier Photography
Step 1: Start with the Basics, Choose Your Table Shape
The first step in creating your seating plan is deciding on the table shape. Depending on your venue, you may have some options here, or it might already be pre-determined. Here’s a quick rundown of the most common table types:
Long Trestle Tables: Great for seating larger groups, these tables are perfect for a more social vibe, allowing guests to chat easily across the table.
Round Tables: More traditional, round tables provide ample legroom and allow guests to interact comfortably within smaller groups.
Combination: You may choose a mix of long tables and round ones, depending on your venue space and guest numbers.
Once you know your table shape, calculate how many guests can sit at each table and begin considering where each group will be placed.
Step 2: The Head Table - Who Will Sit Where?
Deciding where the head table will be is a key part of the seating plan. You can go traditional and seat your bridal party at a long head table, or you might prefer a more intimate sweetheart table for just the two of you.
Traditional Head Table: The bridal party sits together with the couple at the centre, often in front of all guests.
Sweetheart Table: A more private option, where only you and your partner sit together at a small table, away from the main crowd.
Next, think about where your parents will sit. Depending on the size of your families, you may choose to seat your parents together at a table near the head table or have them seated separately.

Photo Credit: Sarah Clements Photography
Step 3: Group Your Guests
Now it’s time to start grouping your guests. Begin by reviewing your guest list and grouping them based on shared relationships or common interests. You might have:
Immediate family members
Extended family
College friends
Work colleagues
Family friends
The goal is to ensure your guests feel comfortable and can interact with others they know. You might find it helpful to use pen and paper, a spreadsheet, or sticky notes to move guests around until you’re happy with their placement.
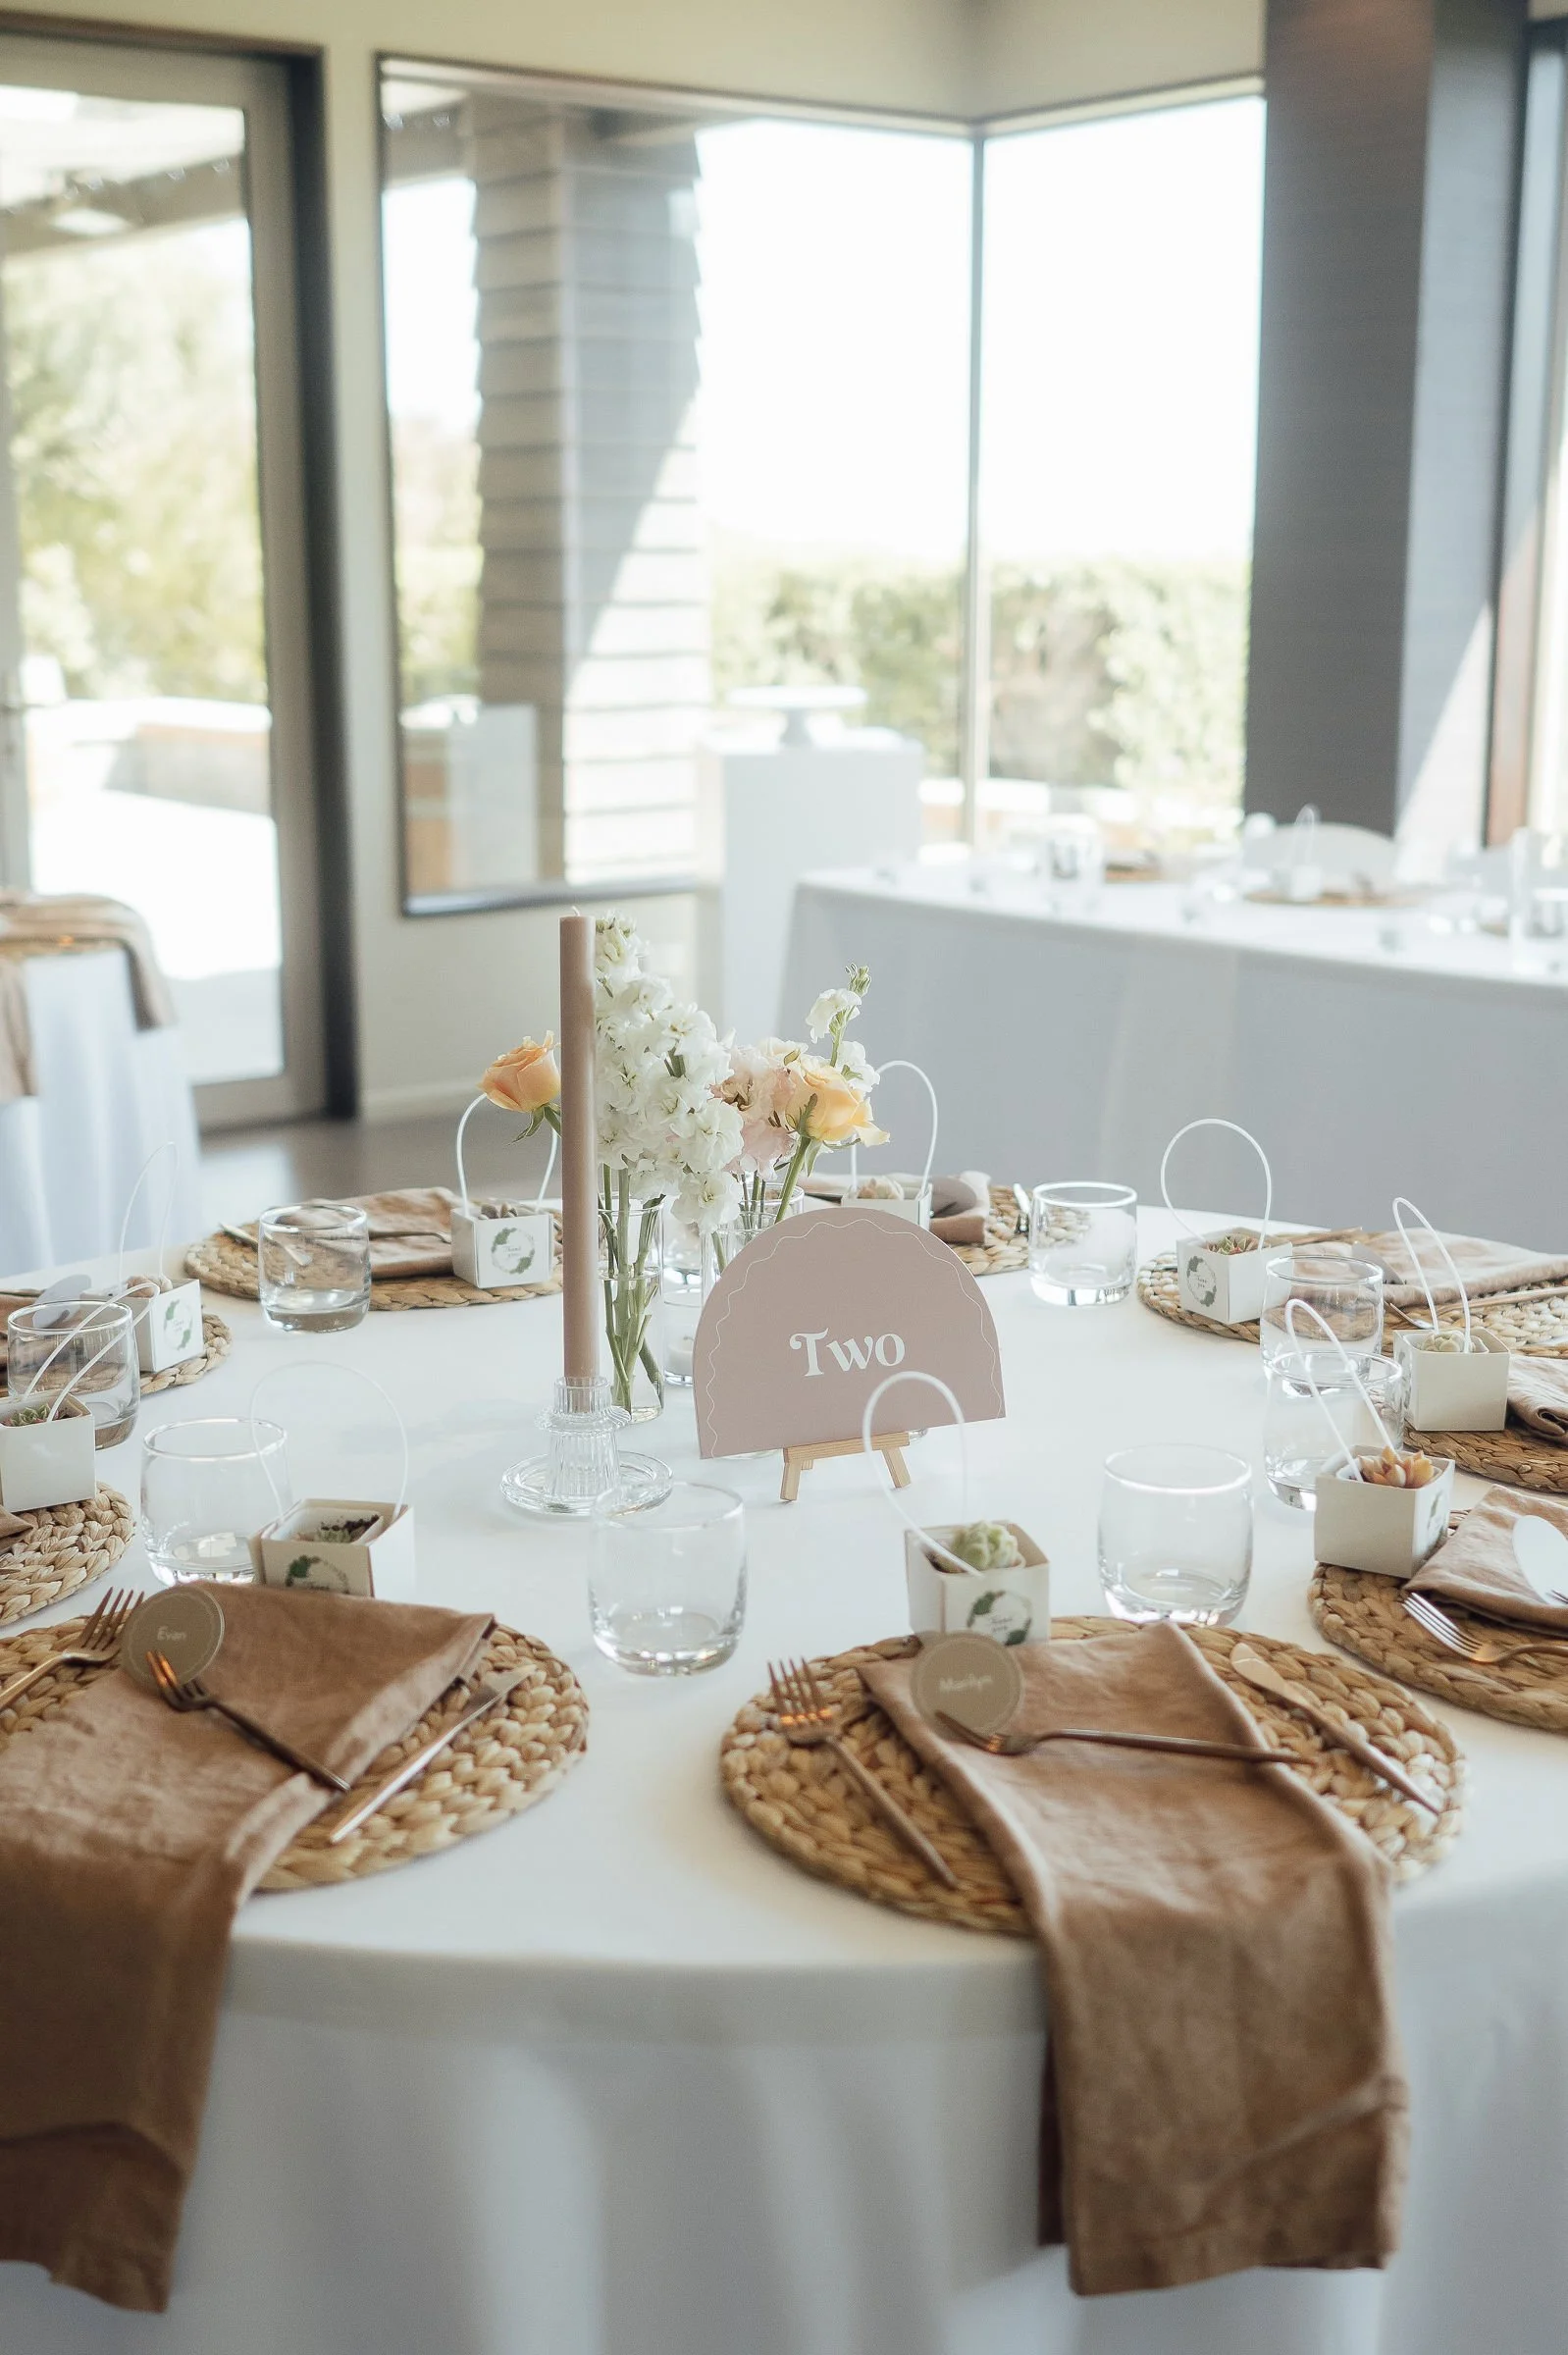
Photo Credit: Tracey Allsopp Photography
Step 4: Consider Special Needs and Comfort
Think about your guests’ comfort and needs when deciding on seating. For instance:
Mobility issues: If any of your guests have mobility challenges, make sure their table is easily accessible, close to the bathroom, and near outdoor spaces if needed.
Single Guests: It can be tricky deciding where to seat singles. Try not to make them feel awkward by seating all singles at one table, and consider mixing them into other groups where they can meet new people.
Children: If children are attending, consider a kids’ table. This is a great way to keep them entertained with games and colouring books while parents can relax. Kids' tables are often best located close to areas where they can play safely.
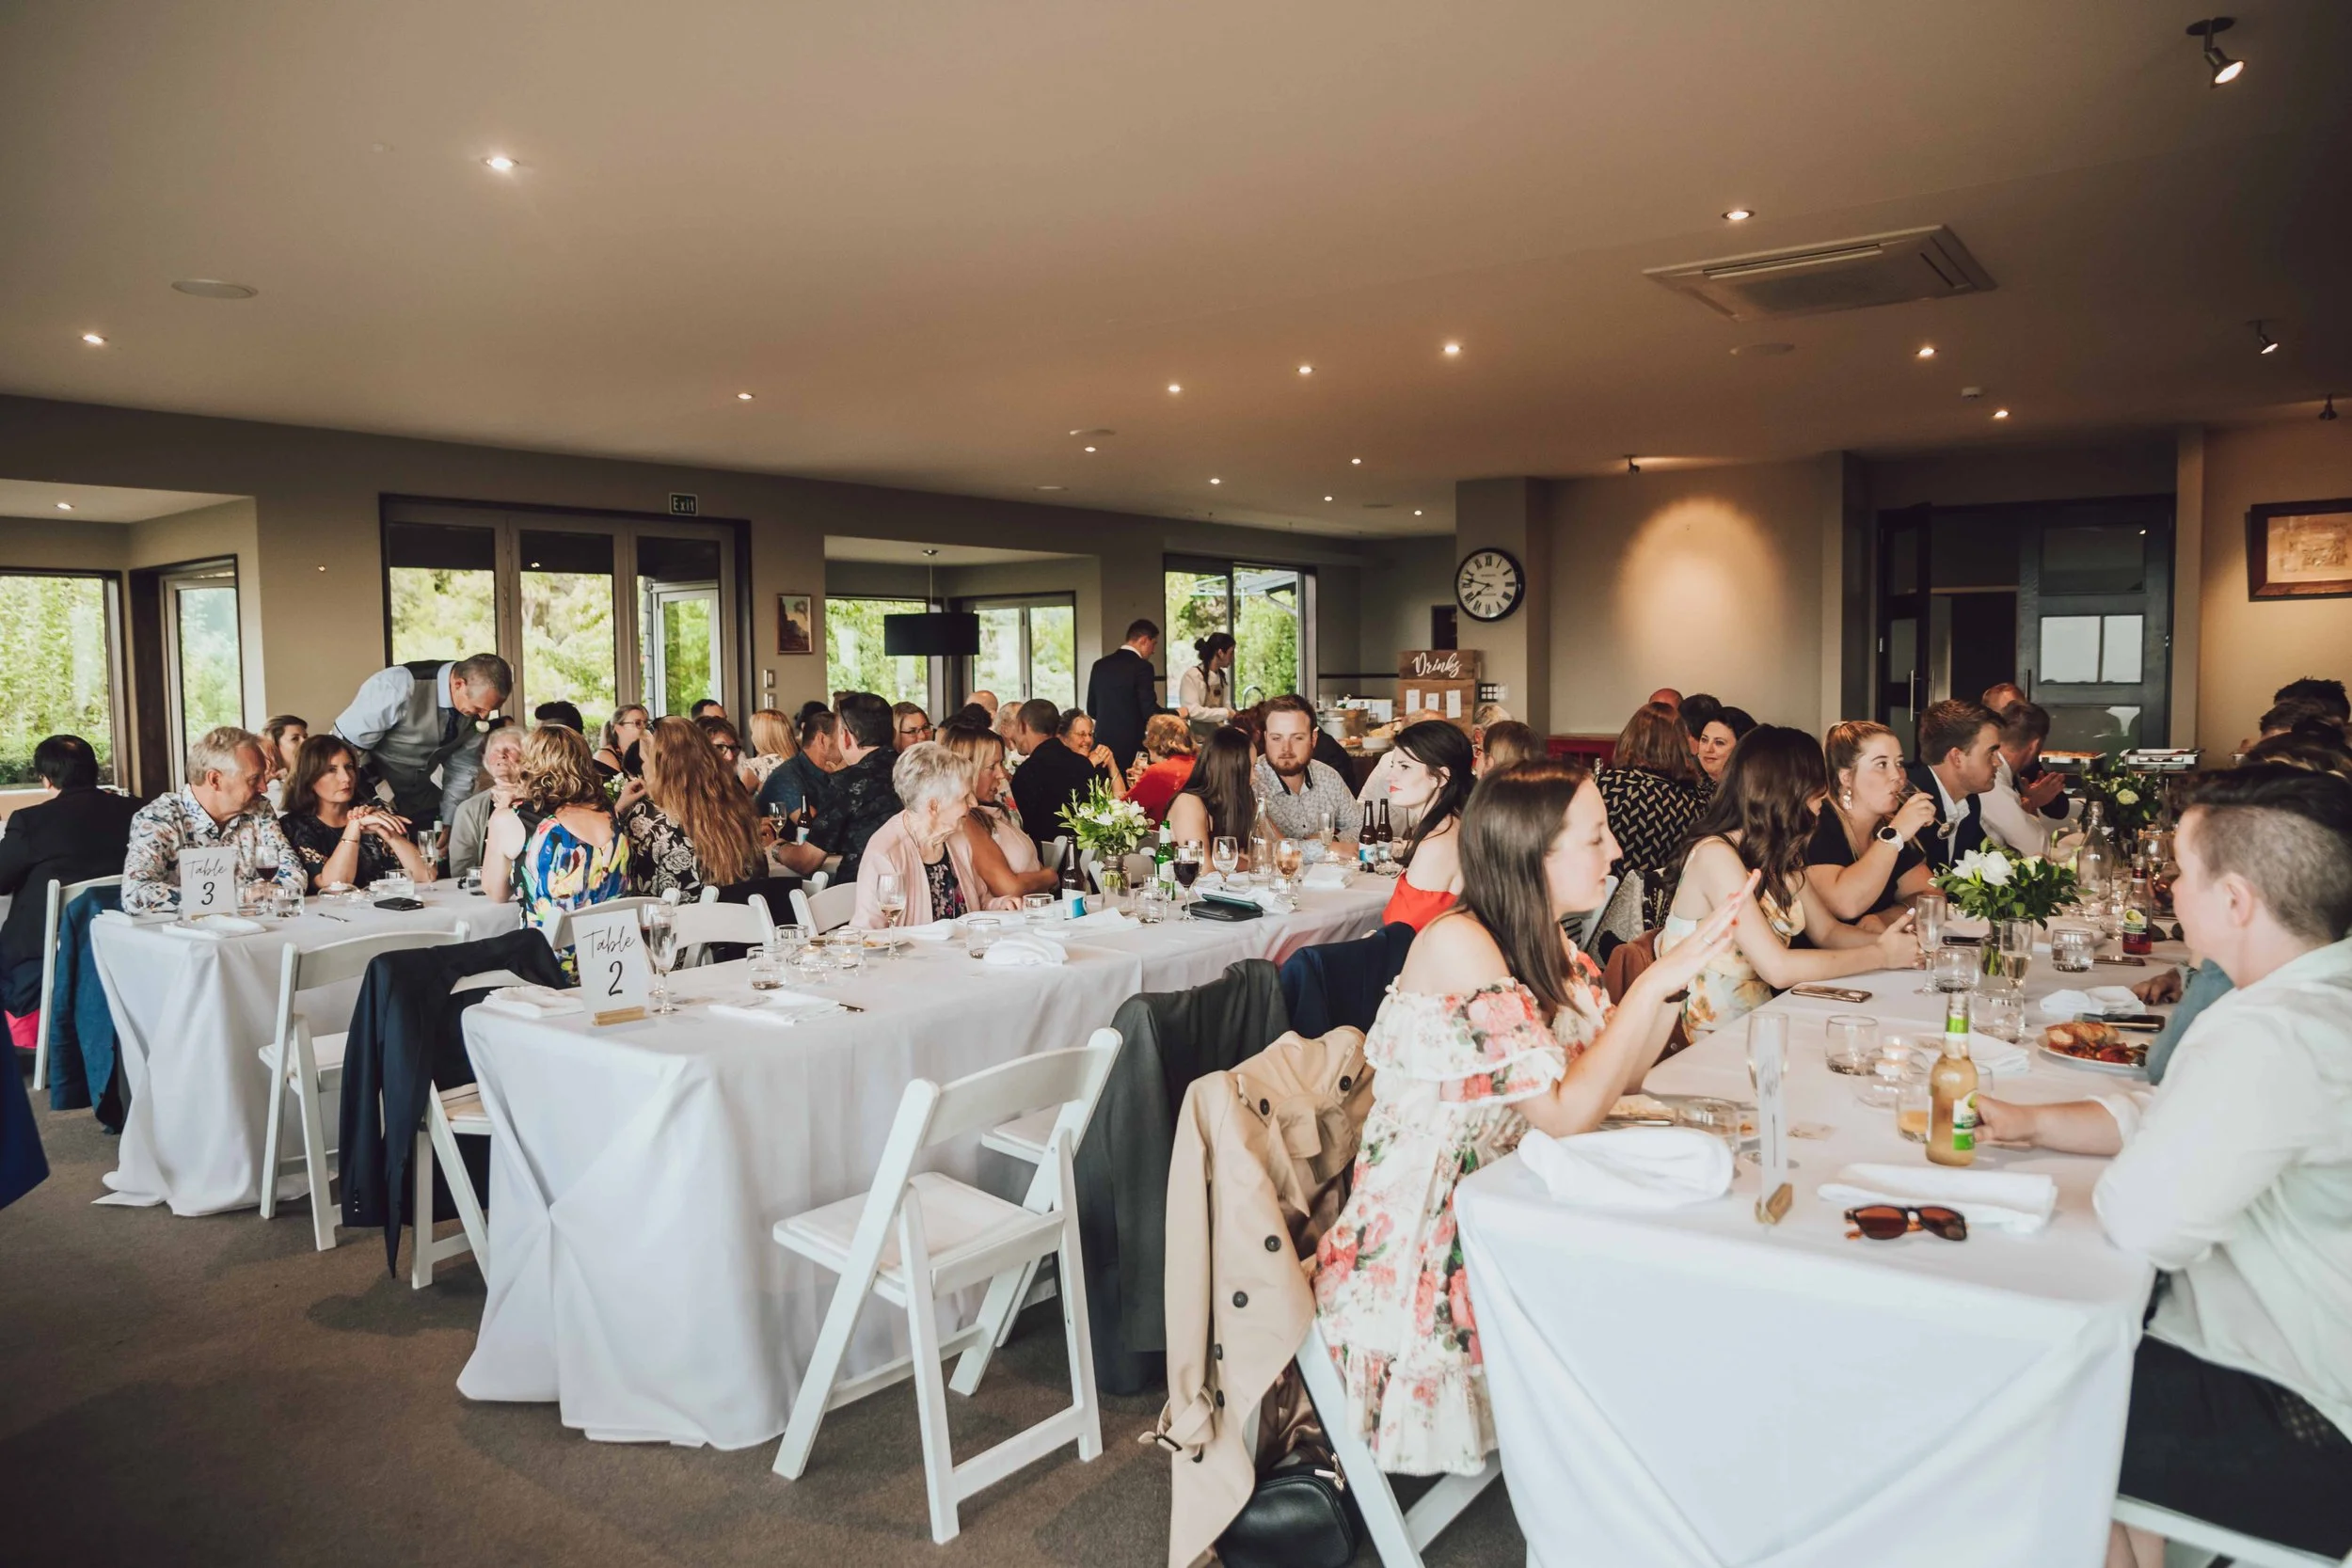
Photo Credit: Heart & Soul Photo and Film
Step 5: Print a Seating Plan and Name Cards
Once you’ve settled on the seating arrangement, it’s time to print your seating plan and name cards for the tables. You have two main options:
Seating Plan Sign: Display this at the entrance of your reception venue. Ensure the font is easy to read and the sign is placed in a location where guests can easily see it as they enter.
Name Cards: If you’re using name cards, make sure they’re placed at each guest’s seat to make it easy for them to find their spot. This option may take a little longer for guests to locate their seat, but it’s a great way to personalise the experience.
If you need help with printing, we recommend Little Paper Store for high-quality printing services.
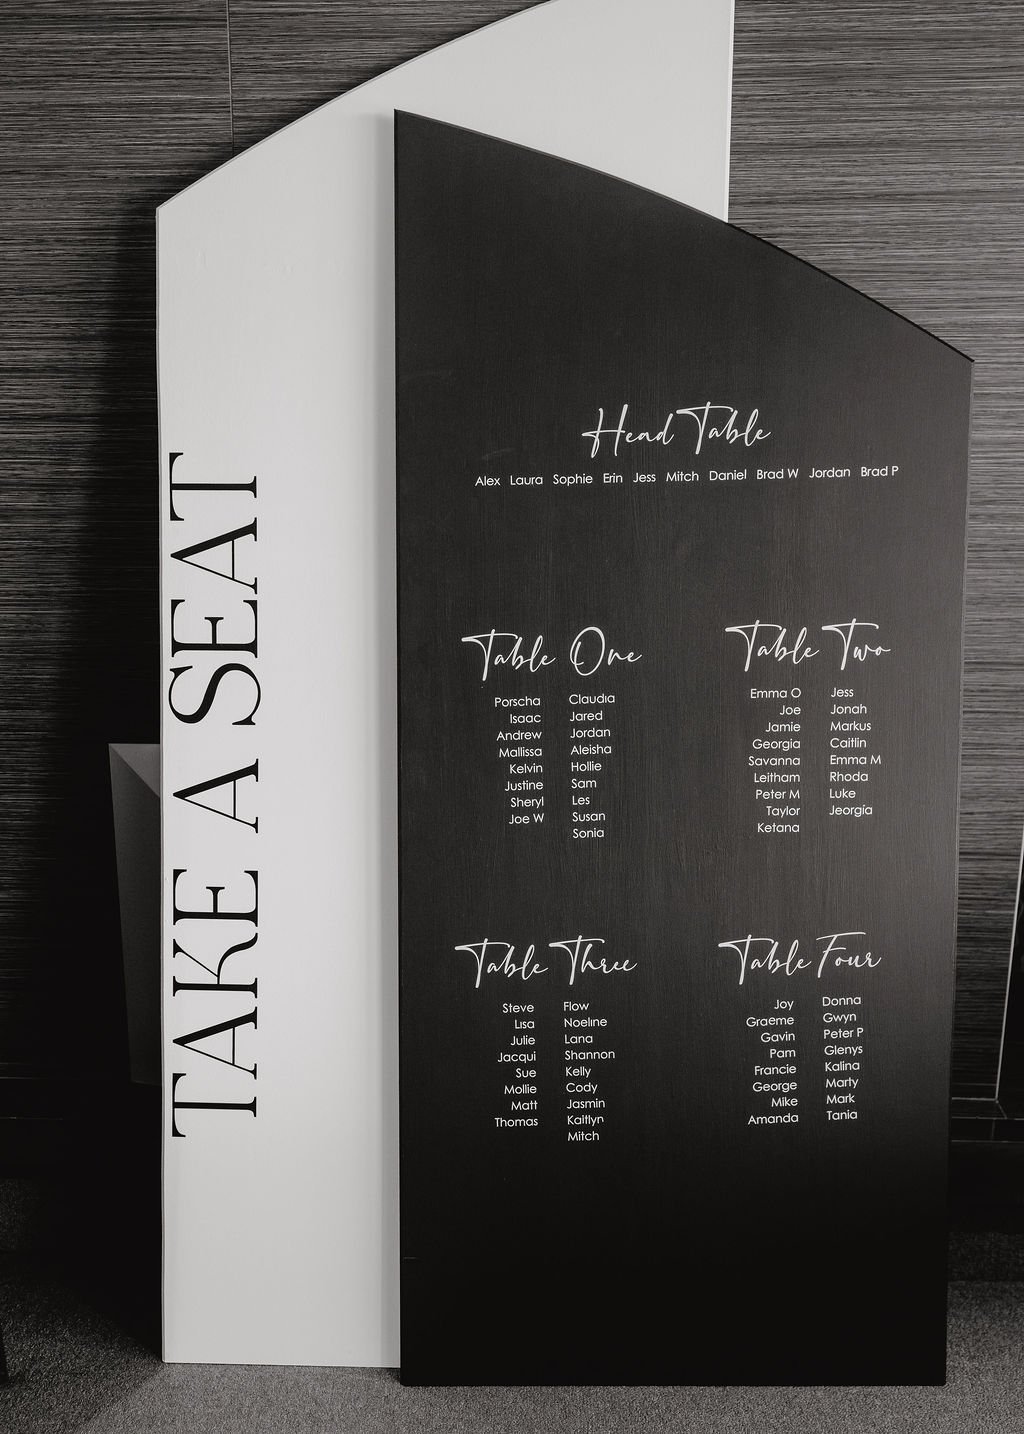
Photo Credit: Sally Anne Photography
Step 6: Stay Flexible and Enjoy the Process
Finally, remember that no seating plan will be perfect. Some guests may change their RSVP at the last minute, or you may realise you forgot someone important. That’s okay! The key is to be flexible. If things don’t go exactly as planned, don’t stress. Your guests will enjoy the day, regardless of where they’re sitting.
Your wedding seating plan doesn’t have to be a source of stress. By following these steps and taking your time to think through the important details, you’ll create a seamless seating arrangement that enhances your wedding day experience.
Need help with your wedding planning or looking for the perfect venue? Book a viewing at Waipuna Estate and see how we can make your day unforgettable!